


BRIDGE
Trick exit
Andrew Robson
THERE is a certain magical nature to the way cards work that never ceases to fascinate — watch South turn two seemingly inescapable losers into one.
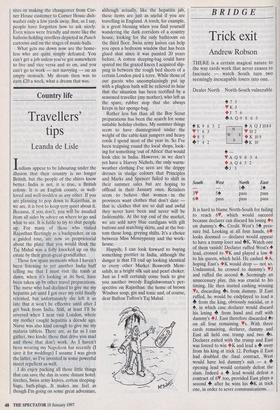
Dealer North North-South vulnerable 4 7 5
K J • J 7 6 +A Q 9 8 6 5
4 K 9 6 r7 6 3
• 8 5 7 4 2 3 2
4A Q.11084 V 10 2
• K 109 K 10 W
S
E
4 — V A Q 9 8 5 4
♦ A Q 4 3 2 J 3
South West 3, 5* 6* pass North East 1+ 24 pass pass pass pass It is hard to blame North-South for failing to reach 6V, which would succeed because declarer can discard his losing *s on dummy's +s. Credit West's 54 pres- sure bid. Looking at all four hands, 6• looks doomed — declarer would appear to have a trump loser and +K. Watch one of them vanish! Declarer ruffed West's lead, crossed to VK and played a low • to his queen, which held. He cashed •A, hoping East's •K would drop — not so. Undaunted, he crossed to dummy's VI and ruffed the second 4. Seemingly an unnecessary play, this was crucial to his timing. He then started cashing winning Ys, discarding +s from dummy. If East ruffed, he would be endplayed to lead a + from the king, obviously suicidal, or a 4, in which case declarer would discard his losing • from hand and ruff with dummy's *J. East therefore discarded 4s on all four remaining Vs. With three cards remaining, declarer, dummy and East all held one trump and two 4s. Declarer exited with the trump and East was forced to win +K and lead a away from his king at trick 12. Perhaps if East had doubled the final contract, West would have led dummy's suit — a # opening lead would certainly defeat the slam. Indeed a 4 lead would defeat a contract of 6V too, provided East plays a second 4 after he wins his 4K at trick one, in order to sever communications.